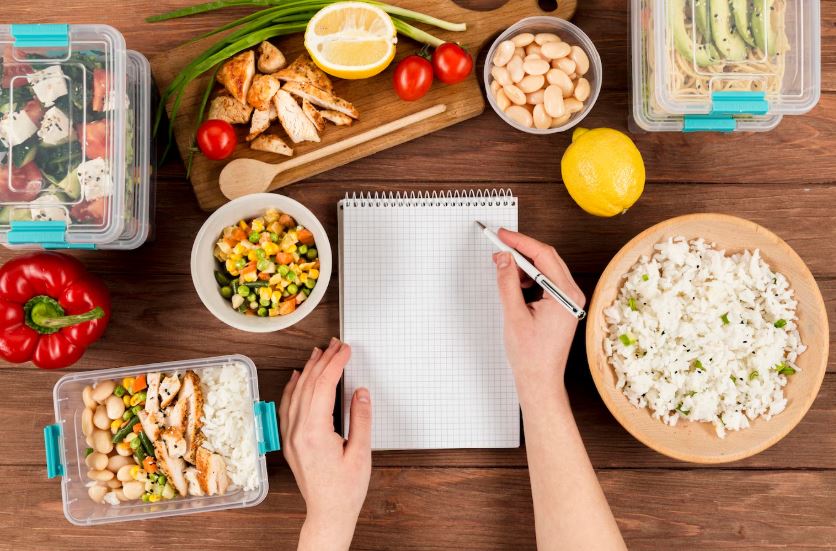
In every busy kitchen, the freezer is a powerful tool — not just for leftovers, but for planning ahead.
Whether you’re a working parent, a student, or simply trying to make your groceries stretch further, these freezer prep tips will help you build flavor, save time, and reduce waste.
Today, we’re diving into how to prep, portion, and freeze your way to flavorful, ready-to-use staples — from homemade stock to marinated meats, aromatic veggie blends, and even infused cooking oils.
1. Homemade Stock: Waste Less, Flavor More
Don’t toss those bones or veggie scraps! Turn them into rich, homemade stock that stretches flavor and reduces waste. One of my go-to bases? Leftover rotisserie chicken from warehouse stores like Costco or Sam’s Club — they’re already perfectly seasoned and work great in broth. You can also use untouched smoked turkey bones, leftover Thanksgiving turkey, or other roasted or cooked meats you don’t feel like finishing.
For a plant-based option, simply skip the meat. Toss in kitchen scraps like onion peels, celery tops, carrot ends, herb stalks, or even leftover party veggie trays. (If no one’s taking them home — you should! They’re perfect for stock.)
Create a “stock bag” in your freezer and keep adding scraps until you’re ready to cook. Then:
1. Simmer the contents into a flavorful broth or stock
2. Strain, let it cool slightly, then portion and freeze
Freezing Options:
– Ice cube trays (preferably silicone) for small portions
– Deli containers for weekly cooking needs
– Quart-size freezer bags for large batches.
💡 Stretch Tip: Label each portion with the date and ingredients (e.g., “Smoked Turkey & Veggie Stock – Nov 2025”). If using trays without lids, cover with plastic wrap. Once frozen, pop cubes into a jar or freezer bag to free up your trays for the next batch.
📋 Pre-wash all vegetables intended for stock.
2. Blend & Freeze Aromatics: Your Secret Flavor Starter
This is one of my favorite prep tricks — a total time-saver and flavor booster! Blending aromatics like ginger, garlic, and onion creates a rich base that can be used in countless dishes. It’s perfect for marinades, stews, stir-fries, and more. Customize it with green onions, bell peppers, chili, herbs, or any vegetable you love.
Here’s How I Prep Mine:
1. Wash, peel, and chop aromatics
2. Blend raw with a little water or oil — or sauté first for a deeper flavor
3. Spoon into silicone molds or freeze flat in zip-top bags (break off a piece when needed).
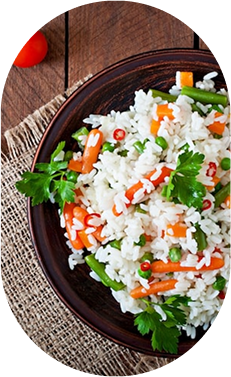
✅ No chopping needed on busy nights! Just pop out a cube or scoop a spoonful straight into your pot — perfect for rice dishes, stir-fries, sauces, soups, or stews.
💡 Stretch Tip: Use labels to mark the mix and date (e.g., “Garlic-Ginger-Onion Base – Sept 2025”). Make different versions — spicy, herby, or veggie-packed — for variety.
3. Smart Freezing = Easy Portioning
Say goodbye to frozen food clumps and hello to effortless cooking. Flash-freezing keeps your food loose, easy to portion, and frustration-free.
🧊 Flash-Freezing Tip: Spread meats, fruits, or chopped vegetables in a single layer on a tray and freeze for 2–3 hours. After the initial freeze, separate any pieces sticking together and let them freeze fully. Then transfer to a zip-top bag or container.
This simple step prevents clumping and makes it easier to grab just what you need later. Herbs defrost quickly, so portion fast to preserve your prep work.
Great for: Onion and bell pepper scraps, herb stems, ginger slices, celery, and carrots.
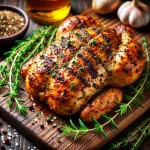
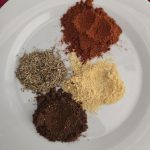
4. Marinated Meat Tip
Before freezing your meats (or tofu — yes, it works!), clean and season them first. I like to let chicken, fish, or beef marinate in the fridge for a few hours — or even overnight — before freezing. Freezing after marinating locks in all that flavor so it shines through beautifully when cooked later.
Steps:
1. Season and marinate your meat
2. Place in small batches on a tray and freeze for 2–3 hours
3. Separate any pieces that are sticking
4. Freeze fully, then bag in usable portions.
This way, you can cook just what you need — no need to thaw the whole bag.
👩🏽🍳 Bonus for Busy Parents:
I prep this way for my teens — they’ll grab a couple of seasoned chicken or fish pieces straight from the freezer and pop them right into the air fryer.
Dinner’s done: fresh, quick, and zero fuss.
💡 Stretch Health Tip: Freeze Smart, Not Twice
Avoid defrosting and refreezing meats — it can affect both safety and texture. Flash-freezing smaller portions lets you thaw only what you need. Plus, pre-seasoning your own meats is a healthier choice than store-bought options high in sodium and preservatives.
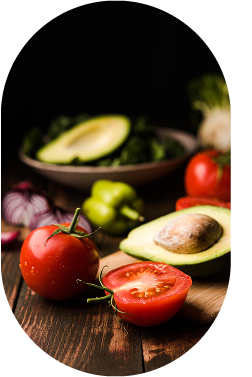
5. Freezer Tomato Sauce Base
If you cook a lot of tomato-based stews like I do, this one’s a must-have. Prepping a batch of tomato sauce ahead saves serious cooking time — especially for African stews that need time to develop deep flavor.
To Prep:
1. Cook tomatoes down with onions, garlic, herbs, and optional veggies like carrots or beets (they naturally sweeten and boost color).
2. Blend smooth (or leave chunky).
3. Let cool slightly and portion into trays or small containers.
✅ Use for stews, jollof rice, soups, and pasta sauces.
🧊 Stretch Tip: Freeze in different portion sizes — cubes for quick meals and deli containers for family cooking. You can even start your stew in advance: sauté onions, add seasoning, and simmer your blended tomato base with oil. Later, just defrost, add your protein, and finish with half the effort and all the flavor.
6. Infused Oils & Flavor Bits
When I’m cooking large meals or prepping to fry plantains, yams, fish, or chicken, I often start with more oil than I’ll need — because I’m stretching it three ways:
1. Flavoring the oil for the current meal
2. Saving a portion as infused oil for later
3. Frying aromatics (garlic, onion, ginger) to freeze and reuse
Herbs like thyme and rosemary also work beautifully for oil infusion — especially when frying.
To Do:
– Fry sliced or whole garlic, onion, or chunks of ginger slowly in oil until golden and fragrant.
– Strain and store the oil — you’ve now got flavored oil ready to elevate future dishes.
– Save the crispy bits to refrigerate or freeze for later use.
🥄 Stretch Tip: Flavor now, save for later. It’s a simple way to get double duty out of your oil and aromatics — and deepen the taste of future meals. Use infused oils to fry omelets, elevate rice dishes, or add richness to quick stir-fries and soups.
For olive oil, simmer aromatics on low heat for about 10 minutes, then cool. For vegetable or peanut oil, cook on low to medium heat until golden brown. Strain and store your infused oil, then save the fried bits — they’re pure gold for garlic bread, dressings, or fried rice.
Final Thoughts: Prep Today, Stress Less Tomorrow
You don’t need a giant freezer or fancy containers to get started with Stretch Freezer Prep. All it takes is a little planning, some leftover bits, and a few intentional minutes at a time.
💡 Stretch Note: This is also a great way to repurpose ingredients before they go bad — like ginger, garlic, onions, or herbs that are just past their prime. You’ll save money and reduce waste while building flavor for future meals.
From homemade broth cubes and marinated meats to tomato bases and flavor-packed oils, each frozen shortcut is a gift to your future self (or your hungry teen with five minutes and an air fryer!).
Remember: you don’t need perfection — just intention. Pick the prep methods that fit your life and watch how much easier weeknight cooking becomes.
Let’s Keep Stretching!
Tried any of these tips or have your own freezer hack to share? Drop a comment below or tag me @TheStretchPantry25 on Instagram — I’d love to see how you’re stretching your meals, your time, and your pantry power!
Need a quick reference? Download the printable Freezer Prep Flashcards — perfect for your kitchen or meal prep binder.
📩 Want more weekly stretch tips, recipes, and pantry printable? Join The Stretch List — and let’s stretch smarter, not harder. 💚


.png)
.png)

.png)
.png)